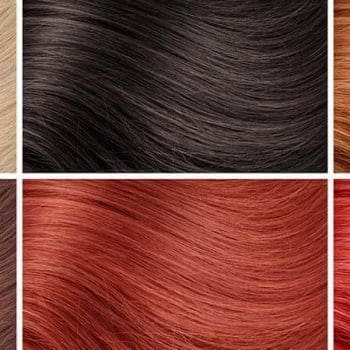
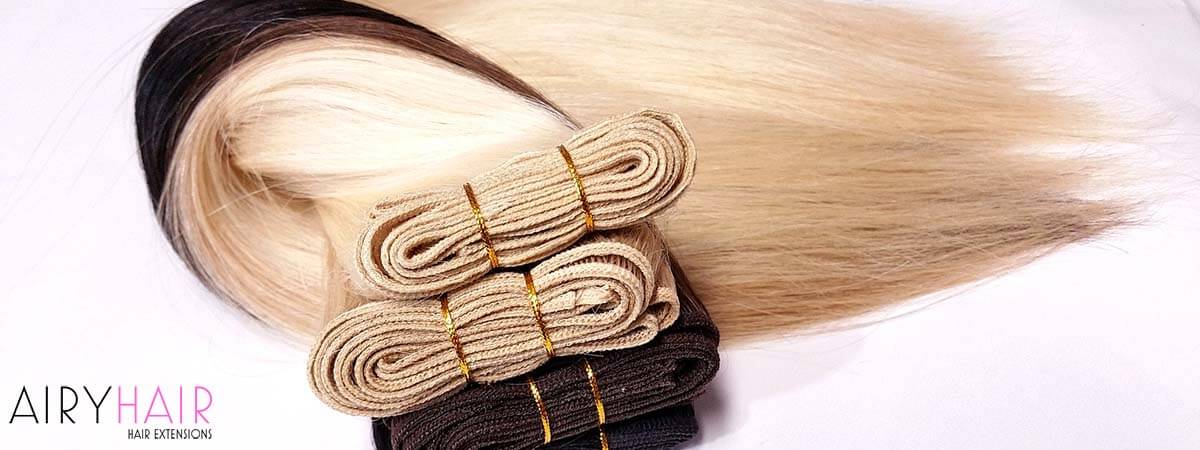
After installing hair extensions, there comes a time when you want to or need to remove them. Like proper installation, removing extensions is very important as well. Improper removal may damage extensions and your natural strands, even causing shedding, breakage, and other problems.
Quick Access
– When Should You Remove Hair Extensions?
– How to Remove Clip-In Hair Extensions?
– How to Remove Flip-In Style Hair Extensions?
– How to Remove Tape-In Hair Extensions?
– How to Remove Nano I-Tip or Micro Link Hair Extensions?
– How to Remove Keratin Fusion Hair Extensions?
– How to Remove Glue-in or U-Tip Hair Extensions?
– How to Remove Weft or Sewn-in Hair Extensions?
– Get New Hair Extensions

Before we start the removal process, let’s talk about the time of removal! When do you need to remove your extensions, anyway? It depends on your type of weft, so let’s go through each one.
Clip-in or Flip-in Style Hair Extensions
If you have clip-in or flip-in style hair wefts, please remove them daily. You can detach clips after getting home or wear them throughout the day and remove them before bed. That’s why clip-in and flip-in bundles are known as non-permanent methods.
It works great for many people and doesn’t for others; it’s all about your habits.
Tape-in, I-Tip or Micro-Loop Hair Extensions
These extension types need to be removed or adjusted after two months. Why do that anyway? The reason why you need to remove them is simple. Your natural strands grow and move the extensions further down, which requires adjustment.
Hair growth dictates adjustment or removal time. Some strands grow slowly so the extensions can stay in for longer. However, they need to come off to be refitted.
You don’t need to buy a new set of hair each time you reinstall if the old one is still good. Just as you can apply hair yourself, you can remove it yourself, and it’s much simpler. If you don’t want to spend a lot of money at the salon, we’ve made a simple guide on removing each extension type with ease.
Weft, Sewn-in or U-Tip (Keratin) Hair Extensions
Except for glue-in extensions, Keratin and sewn-in wefts can stay in your hair longer. The recommended timeframe is 2 to 4 months, depending on hair quality. Regular U-Tips that use glue should be re-adjusted after every two months.
So, you’ve accidentally applied tape-ins or got bored with keratin fusion extensions and are now wondering how to remove them at home without spending a dime. Let’s begin!

Belonging to the non-permanent methods, clip-ins are one of the most popular options for girls around the world.
One of the biggest reasons? It’s how easy it is to put them in and remove yourself. That saves you a lot of money and trips to the salon. Although clip-ins are very easy to install and remove, learning how to do it right is essential.
The Safest Way to Remove Clip-in Extensions
Timeframe: 2 to 5 Minutes
- Start with the 1 to 2-piece clip-in wefts on each side closer to your ears.
- Using your fingers, find the clips that hold the extensions.
- Press on the clips to open them.
- While holding the weft with your fingers, gently remove it from the hair.
- Repeat the same process for all the clips, from smallest to largest. Smaller wefts have one or two clips, while bigger ones have three or four. Keep that in mind when removing the wefts.
- If you find any resistance or tangles, do not pull on your strands on the wefts! Gently untangle everything and then remove it slowly.
After removal, brush your extensions and store them in a safe place.
Flip-ins are even simpler to install and remove than clip-ins. Although this method is not as versatile, a lot of girls love it and use it all the time. Since this is not a permanent method, you will have to apply and remove the hair daily.
The Best Method to Remove Flip-in Extensions
Timeframe: 1 to 2 Minutes
- As you know, flip-in hair goes on the crown area and usually has two or more clips for more safety.
- First, find the clips and press them to open.
- Find where the string of the flip-in extensions is.
- Gently take it with your fingers and pull it back from your head. That should safely remove the hair in one go. That’s it.
Comb and store your flip-in extensions for later use.

There is more than one way to remove tape-in extensuins adhesive and set your hair free. We will list three, so it is up to you to decide which one to use.
Slowest and Safest Way to Remove Tape-in Extensions
Timeframe: 1 Hour
- Apply baby oil on the tape and leave it here for 5 to 15 minutes.
- Start peeling off the hair strands. If they won’t peel easily, apply more oil and wait.
- Repeat the procedure, but be warned, your hair will be greasy for at least a few days.
Fast Albeit Risky Method to Remove Tape-in Extensions
If you aren’t afraid, try using this method.
Timeframe: 10 Minutes
- Grab a bottle of nail polish remover, which is acetone-free. This one will do less damage to your hair. Never use a nail polisher with acetone!
- Using a sharp tool, apply a few drops of nail polish remover on the sides of the tape and start peeling that edge. Once the peeling gets harder, apply more polish on the area and repeat the process.
- Stick tapes on top of one another and repeat the process.
Fastest and Safest Way to Remove Tape-in Extensions
Timeframe: 5 to 10 Minutes
- Is your hair worth more than $7.95?
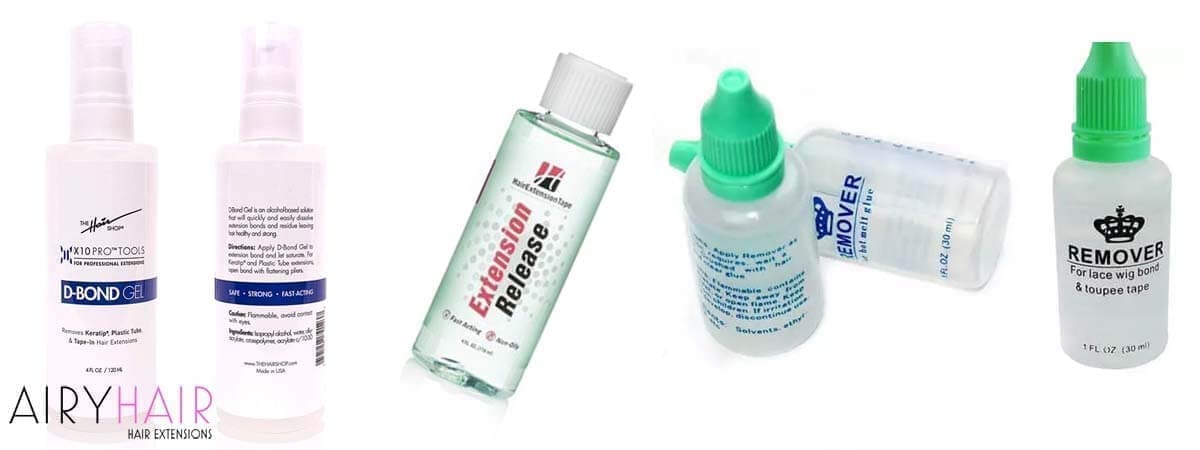
- If so, then just get a pre-made solution from any hair store. That’s a special liquid designed to dissolve tape glue. Apply a few drops and start peeling the tapes away!
- Congratulations, you haven’t damaged your hair in a way that nail polish would have damaged it.
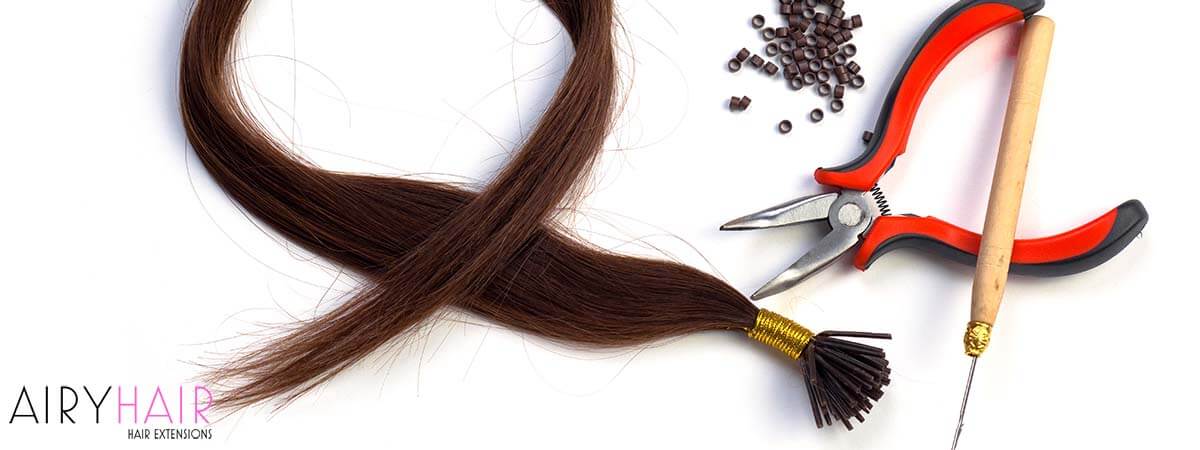
Micro or nano beads are certainly a great choice when it comes to boosting your locks and is easier to remove than install. The same method applies to i-tip hair extensions.
You will need pliers to take your beads off, and this is how to do it properly.
Removing Nano Beads or Micro Links
Timeframe: 20 to 45 Minutes
- Since there are many small beads on your head, you will need to remove them one by one.
- After you have decided where to start, find the first bead.
- Hold the first strand with one hand and pliers in the other one.
- Notice beads that are now flat.
- Press the pliers on the opposite side of the bead to make them round again.
- The strand will come off with little to no pulling.
- Simply repeat this process with all the beads, and you’re done!
This one is much trickier, as keratin is a powerful (and natural) protein. Fortunately, there are still ways to do that, and assuming you have some tools at home, it will be free!
Removing Keratin Hair Extensions without Any Tools
Warning: For keratin extensions, we strongly advise you to go with pre-made solutions, which will reduce the risk of damaging your hair and/or skin. However, if you don’t mind the risk, proceed with extreme caution; you have been warned!
Timeframe: 30 Minutes
- Look for 100% pure acetone. In case you need to buy it, compare the price with the pre-made solution.
- Grab a pair of gloves made of butyl rubber or latex (these will break after ~10 minutes or cause allergic reactions). Other gloves will dissolve.
- Apply gloves and dip your fingers into acetone.
- Start gently rolling the bond with the fingers until it loosens up and falls apart.
- Repeat the procedure till all bonds are removed.
Removing Keratin Extensions the Easy Way
Timeframe: 10 to 20 Minutes
- As we’ve already said, spend $7.95 on a quality keratin extension remover and be done with it. You can find hair salons. Online purchases are possible, but shipping liquid via airmail is tricky.
- Apply a few drops of pre-made solution on the bonds and watch them break.
- Drop on every strand, and that’s it!
If your extensions are shedding or falling apart, it’s time to remove them. Since these are usually the longest-lasting locks, removal is tricky. You can do it all independently, but a secondhand would help tremendously.
Removing Glue-in or U-Tip Extensions with Pliers
Some gels break down glue, but they usually don’t work well. Here’s the fastest and safest way to remove glued-in extensions.
Timeframe: 60 to 120 Minutes
- Locate the bond between your hair and extensions. Use a mirror if necessary.
- Take pliers and squeeze the bond hard. This will start the glue breakdown process.
- If bonds don’t give in, squeeze them on the side, then roll them between your fingers.
- At this point, any adhesive will turn into small grains, releasing extension strands.
- Repeat this for as long as necessary. Play your favorite music to make it somewhat fun.
- That’s it! Enjoy a refreshed and lighter head.
While weft extensions can be transformed into almost any hair type, it’s all about sewn-in strands here. The removal is much easier and simpler than installation, which can take hours.
Removing Sewn-in Hair Extensions Yourself
Timeframe: 10 to 20 Minutes
- Use a mirror (if you are removing yourself) or ask your friend to locate the first row of sewn-in hair.
- With small scissors, slide one edge under the first thread and cut it.
- Cut the next one and another one. Do not rush, or you may cut your hair.
- Keep removing layers until your hair is set free.
Having read our guide, it could now be time to buy a new set of hair! Maybe you’ve decided to use a different method or want to try something new. In that case, please check AiryHair website.
We will pack and ship your hair for free, anywhere in the world :)
Oh, and you can return the hair within 30 days for a refund or free exchange.